
Fortunately, I had a custom order for a pen that might be fun to see put together. Having made a similar pen last year, I heard it variously referred to as 'loud', 'cheerful and sunny', 'garish and obnoxious', 'fun'... In truth, I made the first one for an 'ugly/crazy pen contest', as kind of a joke. I was shocked to discover how many people loved it, and wanted me to make one for them. I declined - partly because it takes a while to build up some good, colourful scrap, and partly because it really is a lot of work. When I received another request for one of these a couple of months ago, I thought it would be fun to have another go at it. This style of pen is made up, not surprisingly, out of all the scraps and left-overs from other pens that I have made. I called the last one the 'End of the Day Pen', but thought I'd name this one after Jacob's coat, and call it the 'Pen of Many Colours'. Seemed appropriate enough.
I have skipped a many (most) of the steps and details in this process in the pics below, as I didn't want this to become overly didactic and boring.
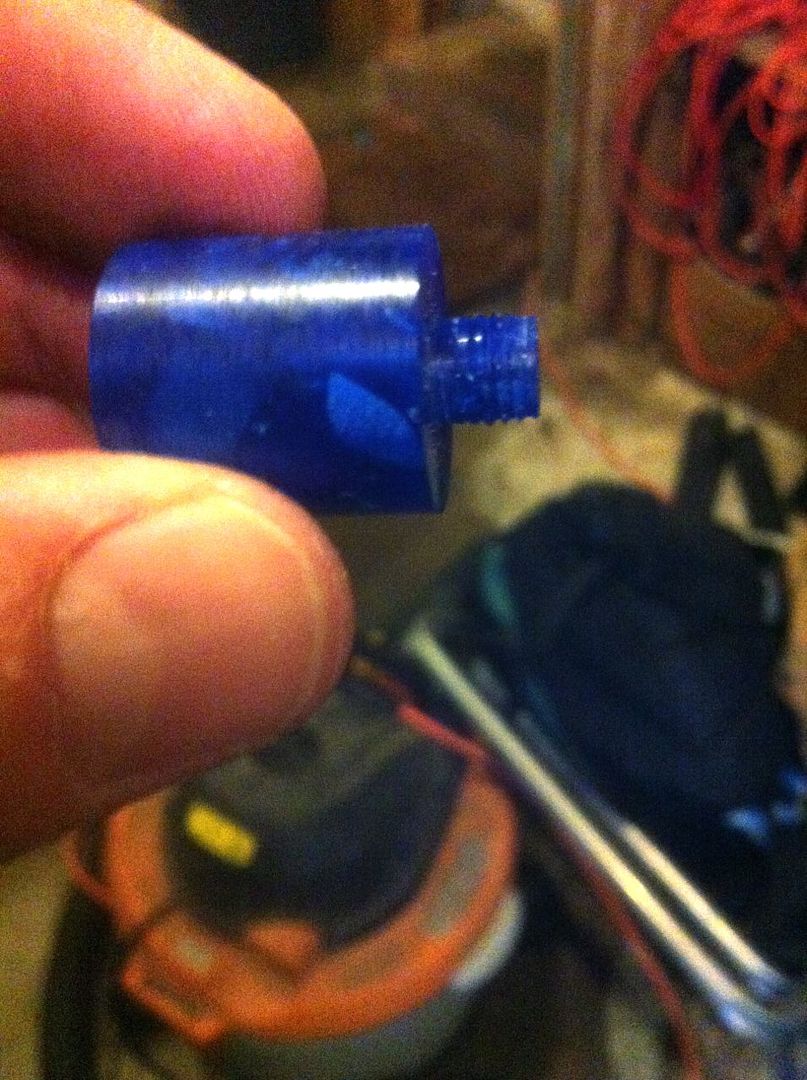
The first step in the process was to find a nice big scrap piece to make the nib section out of. So I picked one with an odd mix of blue and green (though once turned, it was mostly blue anyway).


Next up was to try to choose from among the more colourful scraps for the barrel and cap of this pen.

In order to glue the pieces together, the ends must be trimmed perfectly flat, with a slightly roughened face. Medium viscosity cyanoacrylate is wonderful stuff to hold the parts together, as it polished up similarly to the rest of the acrylic. Occasionally however, the glue fails under great stress, and sends me back to the drawing board. The first iteration of the cap, pictured below, ended like that. It exploded when I tried to drill to soon after glueing, and I had to remake a large part of it (seen in the next pic below that).


Next up was to glue up the barrel in the same was as above, trimming each piece to have a smooth, flat end. I wanted to make sure that I used no acrylic twice, so a number of scraps got used in this.


Putting it all together was the next step. I did a custom grind turning a fine nib into an extra-fine nib (a special request, as I don't usually offer nib grinds), adjusted and smoothed it, and installed it in the pen.


And there you have it. Not to everybody's taste, but bright, colourful, and certain to make a statement. Or something.
Comments always welcome.
It's a beauty! I can hardly wait to show it off!
ReplyDeleteThanks very much, Terry!
ReplyDeleteIt's lovely to look at and a pleasure to write with! I use it all the time now.
ReplyDeleteBuahahaha this is a brilliant, brilliant pen! I love it.
ReplyDeleteVery pretty
ReplyDelete